How to Transfer $DFI From a DeFiChain Wallet to MetaMask
Want to transfer your $DFI from the DeFiChain Light Wallet over to MetaMask to use it on the new MetaChain layer? Follow this quick step-by-step guide to seamlessly transfer funds between the two wallets.
This straightforward process only takes a few minutes, but it opens up a whole new world of possibilities with your $DFI now being accessible via MetaMask on DeFiChain's EVM layer. Read on to learn how to connect your wallets and start capitalizing on MetaChain's ecosystem today.
Transfer $DFI from Light Wallet to MetaMask
When transferring $DFI between the original DeFiChain chain (DVM) and the new MetaChain layer (EVM), be aware of a key difference. Sending $DFI onto MetaChain (MetaMask) must be initiated from the DVM wallet in your Light Wallet app. You can toggle between viewing your DVM and EVM wallets using the button in the top left of the app.
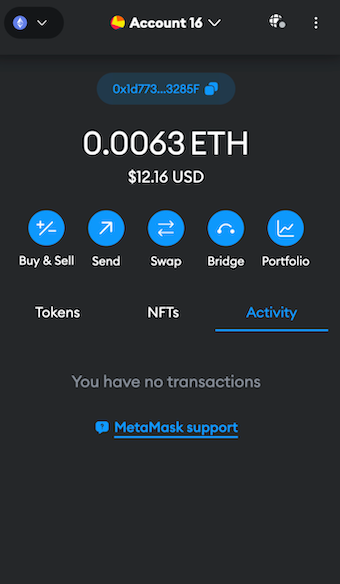
Step 1: Access MetaMask
- Open your MetaMask extension in the browser.
Step 2: Add the DeFiChain Network
- Visit DeFiChain RPC Mainnet.
- Scroll down to "mydefichain RPV Mainnet" and click on the “Add to MetaMask” button to add the DeFiChain network to your MetaMask extension.

Step 3: Network Approval
- In the MetaMask popup, click “Approve” to confirm adding the new network.

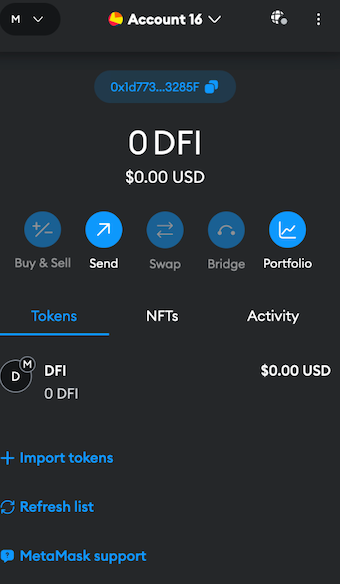
Step 4: Network Selection
- If MetaMask doesn't automatically switch to the “DeFiChain RPC Mainnet,” open the network selection menu by clicking on the button in the upper left corner.
- Choose “DeFiChain RPC Mainnet” from the list.
Step 5: Initiate the Transfer
Now that you've connected your MetaMask wallet to DeFiChain, it's time to fund it with some $DFI! Here are a couple easy ways to transfer coins from your DeFiChain Light or Desktop wallet:
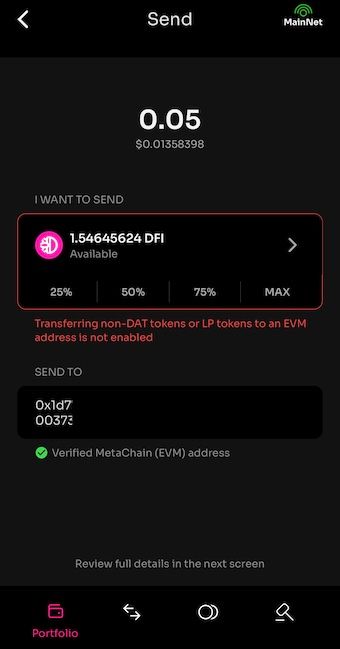
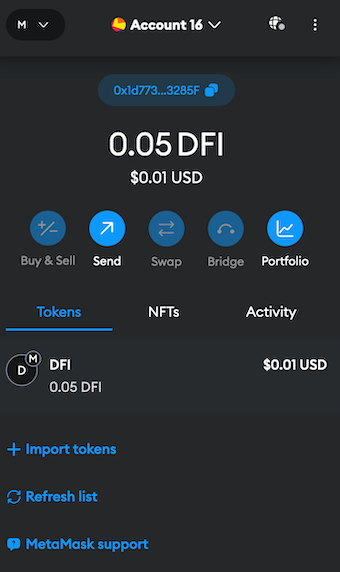
- Copy your MetaMask wallet address (you can find it above your $DFI balance) and paste it into the "Send" field of your DeFiChain Light or Desktop wallet. Enter the amount of $DFI to transfer and hit send.
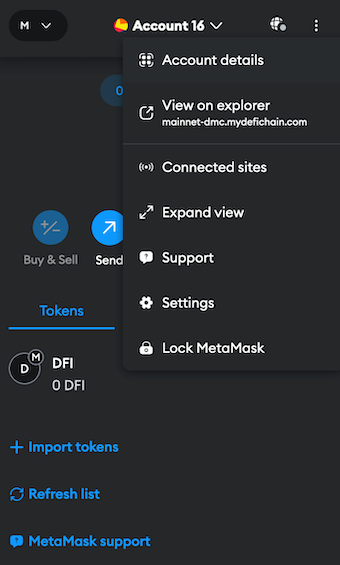
- Click on "Account Details" in MetaMask by clicking the three dots in the upper right corner. You'll see a QR code and wallet address. Use your phone to scan the QR code using the DeFiChain Light wallet.
Step 6: Check the Address Format
When scanning the MetaMask QR code from your DeFiChain Light Wallet, be sure to delete the "ethereum:" prefix from the address. Your MetaMask address should start with "0x...".
You may see a warning message about an invalid address. No need to worry - you can ignore this for now. As always, we recommend first sending a small test transaction before transferring larger amounts. Once you confirm the transfer works successfully, go ahead and send over higher amounts of $DFI.
Step 7: Confirmation
Verify that your $DFI has been successfully received in your MetaMask wallet.
By following these steps, you should be able to securely and efficiently transfer $DFI from your Light wallet to MetaMask on the DeFiChain Mainnet.
Transfer $DFI from MetaMask to Light Wallet
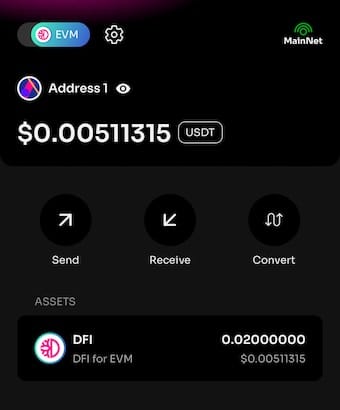
To transfer $DFI back to the original DVM domain, first send funds from MetaMask to your "EVM wallet" inside the Light Wallet. You can toggle between viewing your DVM and EVM wallets using the button in the top left of the app.
Step 1: Select the EVM wallet in the Light Wallet
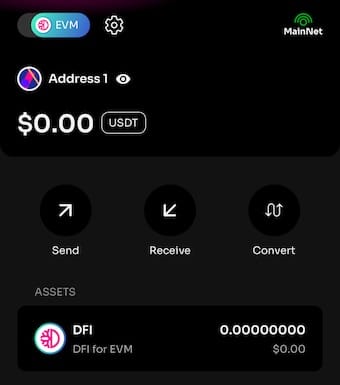
Step 2: Click the "receive" button and copy the address into the clipboard
Step 3: Transfer $DFI
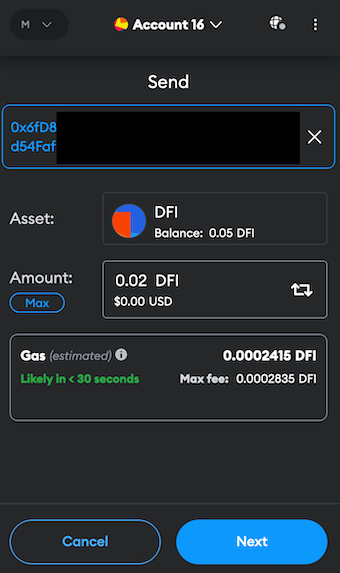
Head to MetaMask, paste your Light Wallet's address into the "Send" field, enter the amount of $DFI to transfer, and confirm the transaction.
Step 4: Convert $DFI from EVM to DVM
The last step is to convert your $DFI from the EVM side back to the native UTXO-based DVM chain. Inside your Light Wallet app, toggle to view your EVM wallet. Click the "Convert" button to initiate a transaction that transfers your $DFI funds from the EVM partition onto the original DeFiChain (DVM) chain. After confirmation, your $DFI balance will reflect in your DVM wallet, completing the round trip.
Have fun exploring the EVM side of DeFiChain :)